
Monday Miniatures: The Knee bone’s connected to the…
You know – the coloration of these things is remarkably similar to their xrayed namesakes. I’m sure that’s how it happened. Someone opened up the box of prototype miniatures, fresh from China, and said that they looked like they were made out of bone. Just like that, the label stuck.
Bones will also be sticking around here for at least one more week, as we continue to delve into the many aspects of them. Last week it was first impressions, and this week it is painting. Next week, well I suppose you’ll have to read the article to find out.
This week saw a resurgence in Kickstarter project activity.
- Brother of Iron – This project is doing quite well at creating alternate styles of space marine bitz.
- Mapping Tiles – Want some cheap scenery? This one is for you.
- The Sikh Wars – More historical minis are available here, and quite nice too, if that is your thing.
- Olde World Miniatures – This project has some imaginative sculpts? Goblin freebooters? Dwarven centurions?
- Dwarven Brewery – This one is yet more dwarves.
- Base Stampers – Though I think this one leaves a little bit to be desired, I the product they are trying to make is definitely one that should exist.
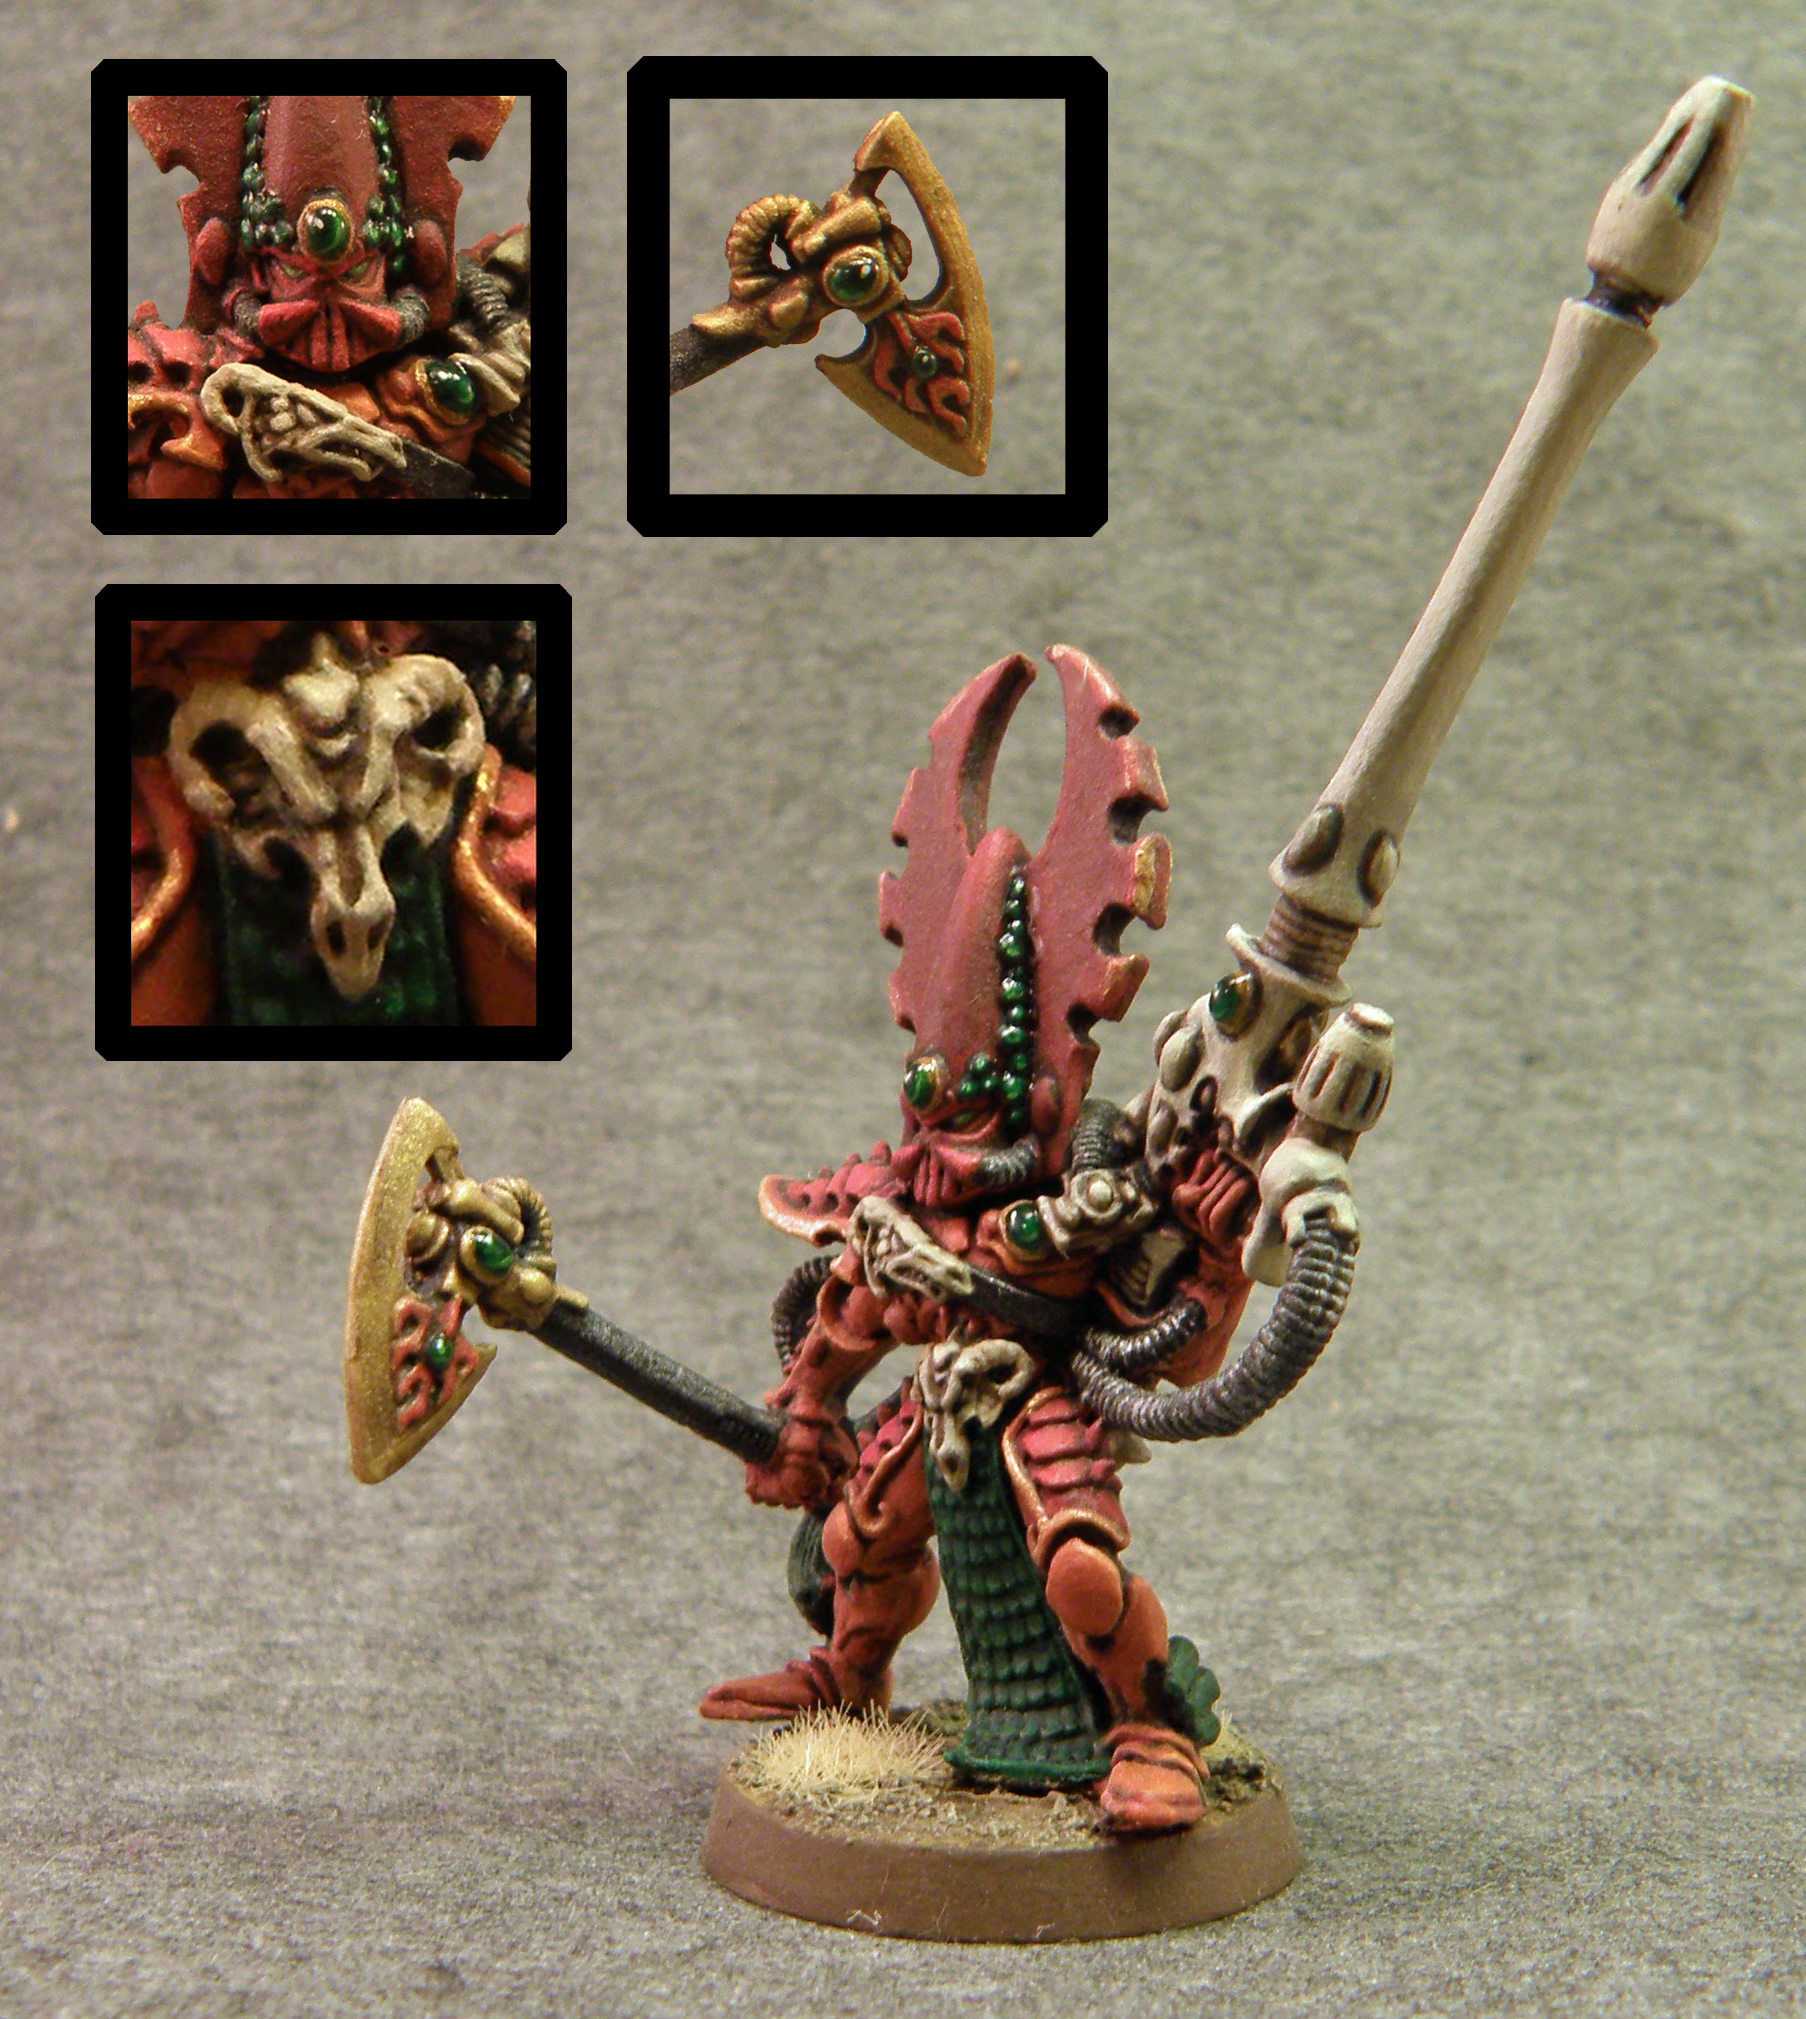
Jessica compliments all the fire dragon’s she has been painting lately with their exarch, Feugan, and does a bang up job.
Clint shows us just how well a new bones mini takes paint this week. I’m jealous. I can’t wait to start painting them myself.
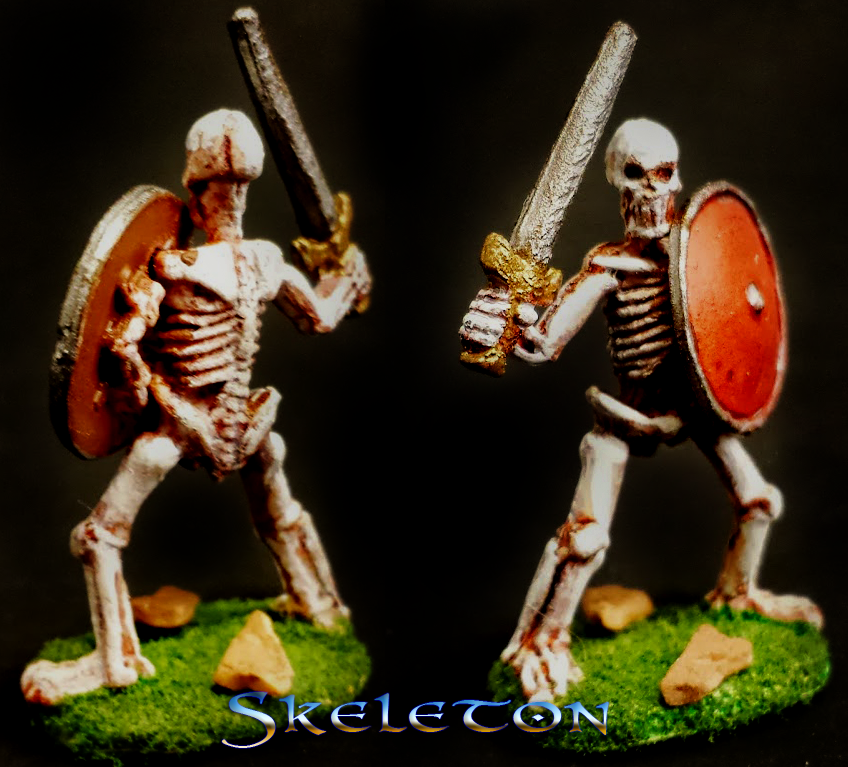
Hi again! As I said last time, this week I’m going to do a little review of how Reaper’s Bones miniatures take paint. This part is a little disappointing, but all’s well that ends well, as you can see in the photo above. What chaps my hide is that Bones was touted to be “Durable and ready to paint right out of the package.” Well, they’re durable, but ready to paint they aren’t.
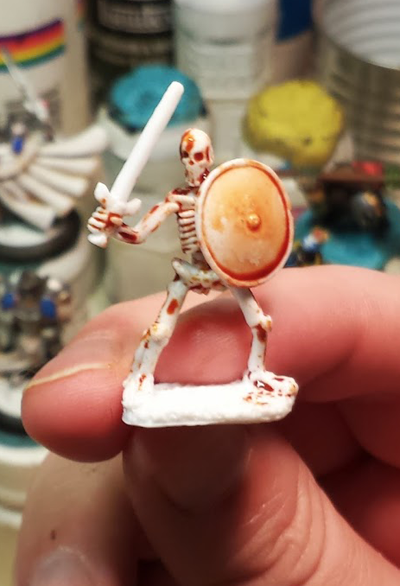
For this part of the review, I’m a bit pressed for time, so I chose a skeleton to paint, because there’s not much to them and I figured I could knock one out in a hour or so. So, I pick one out and mix up a bit of brown ink and some “magic water” to make a wash. I throw a bit on there and this is the result:

I covered that shield and the wash just pooled up in the middle. No amount of pushing it around with a brush would get it to stay. I need the brown to act as a base coat on the bones of the skeleton and I figured I’d shoot for a ruddy brown on the shield as well. That’s not going to work behaving like this. I went with a wash because I’d heard that Bones were hydrophobic, but I was hoping the ink base would stain the plastic at least. No such luck. The little bit you see there in the pic disappeared when I gently blew on the mini.
I’ve had some resin and even metal minis act like this before. The problem is typically a bit of residue of the release agent left over from when the mini was pulled from its mold. Not a big deal, the residue is easily cleaned off with a bit of soap and water. So I wiped down the mini with a paper towel and headed into the kitchen.
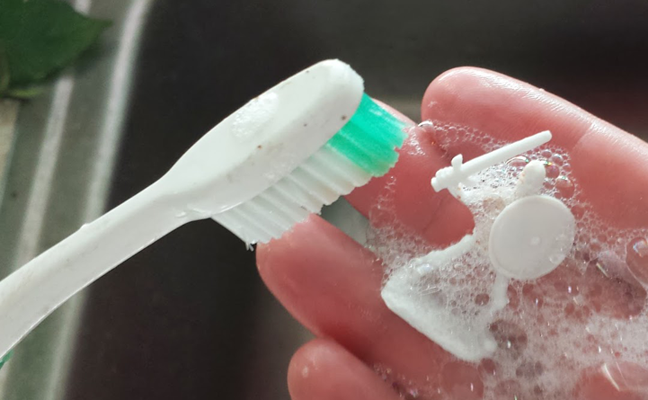
Five minutes of scrubbing with dish soap and an old toothbrush and I felt any residue would be completely removed. So it’s back to the painting table and my previously mixed brown wash to try again. Behold!
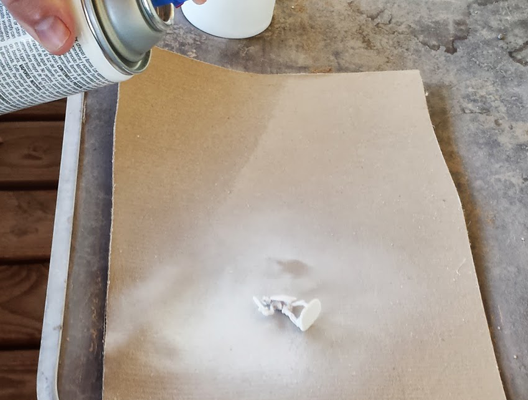
Crap, it’s still not working. So much for “ready to paint” out of the box. Disappointing, but honestly, easy to deal with. Just need to do what I always do with minis… and prime them! Lately, I’ve been using this brand of primer because it rarely pills and leaves me with a ever-so-slightly hard surface to work with. Paint has always adhered to it nicely for me in the past, so I figure I’ll try it on the Bones skeleton.

Hmmm.. flaw in my plan. The Bones is white. The primer is white. I can’t tell if I’m spraying too much or too little. Is the primer even adhering, or is it just pooling on the surface like my brown wash did?
 Peering closely, it doesn’t look like there’s primer on it at all. But neither can I detect any signs of the hydrophobic pooling. There ought not to be any, as there’s no water in the primer. So I decide to let it dry and go grab a snack. After 45 minutes or so, the primer is dry and I take it back to the painting table for Round 3 of the brown wash.
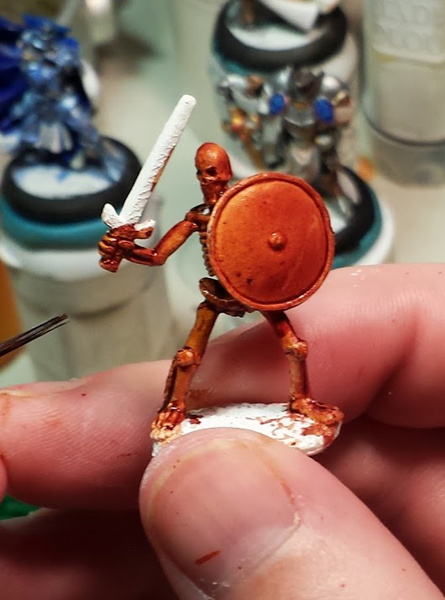 Eureka! Now that’s what I was looking for. Good coverage, but still pooling in the recesses. So Bones can be primed and take paint like a regular mini. Good enough for me. I move onto the next step, base coating everything, then drybrushing some Maiden Flesh onto the skeletal parts, to be followed with progressively lighter layers, all the way to pure white.
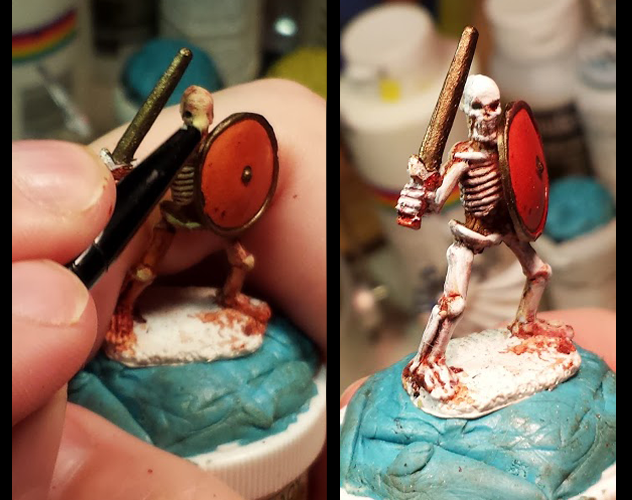
Now, bear in mind, this has already taken twice as long as I thought it would, and I need to get this wrapped up for the night, so this is not a paintjob I’m particularly proud of. It’s quick and easy and sufficient to whip out when a pack of skellies attack the PCs poking about in dusty tombs on my table top. I’m disappointed that I have to prime, but not surprised. The only other bit about painting Bones that I’d like to point out is that they are flexible! This gave me a moment’s pause as I began drybrushing — the mini would just fold over when I pressed the paintbrush against it. This made moving the paint around and building it up where I wanted it difficult. That’s why my finger is curled around the back of the mini in the first part of the above pic. After a bit, I gave up and when with layering instead. I’m satisfied with the results, especially considering I’m trying to not to use the drybrushing technique so much these days. It was good practice and resulted in my Mini of the Week.
Next week, I’ll finish up the review and share some of how I “finish” a mini, including basing and photographing, and maybe share a peek into the pig sty that is my painting space. See you then!

Thanks for sharing your experience with the wash, the bones are definitely a little different to work with.
I started painting one of the bones last night and after scrubbing it with dish soap and water, I used un-diluted paint and that adhered fine. Problem I have with that is I like using a wet pallete, and I can’t use it for the basecoat because the paint becomes slightly diluted by nature of the wet pallette.
I read one suggestion of using 50/50 matte(or glaze) medium and water then adding a few drops of paint or ink to basecoat the whole mini, which will give you a surface you can paint as normal and will help you see the details better. I think I’ll try that out on my next one. Though with the water in the mixture it’s a bit hard to believe that it’ll actually work.
In my searches I also read that you have to be careful what sort of primer you use, because with some it will remain tacky for life, apparently a chemical reaction with the bones material and the primer. It sounded like enamel based primers are the culprit. I generally just use Krylon white acrylic spray as a primer so I’ll have to give that a try too.
Heh, never even occurred to me to use straight paint. I’m so used to the ‘thin your paint’ mantra, I thought that was the intended usage. Makes sense as it really does seem to be water causing the issues; I had some success with straight ink.
Please let me know how your enamel primer works out! Can’t wait to see your work with a Bones mini.
Yep, you can try to thin with any acrylic polymer medium instead of water. If you feel the need to thin at all.
I still prime though, it just feels right 😛
I haven’t tried spraying them with anything yet, but tonight I played around with matte medium and various mixtures. Pretty much any mixture with more than a tiny bit of water doesn’t adhere well to the bones material. Thinning with matte medium works well but doesn’t actually thin the consistency of the paint just makes it more translucent.
For washes, I had to use Pledge future with no dilution and paint to adhere. Works great, but definitely glossy. Meanwhile, the first coat of Quickshade Ink sorta beaded, but the second went fine. Not all primers work with Bones. *So* I’m thinking you’re going to have to find your “first coat” of choice and I hope you find some good candidates because I’m still looking! (:
The P3 primer I used above worked out very well. I think I might have to pick up a different color, however, to ensure I get good coverage. White-on-white was impossible to see.